
Quick overview
The custom pattern brush workflow
1. Build the artwork that will repeat
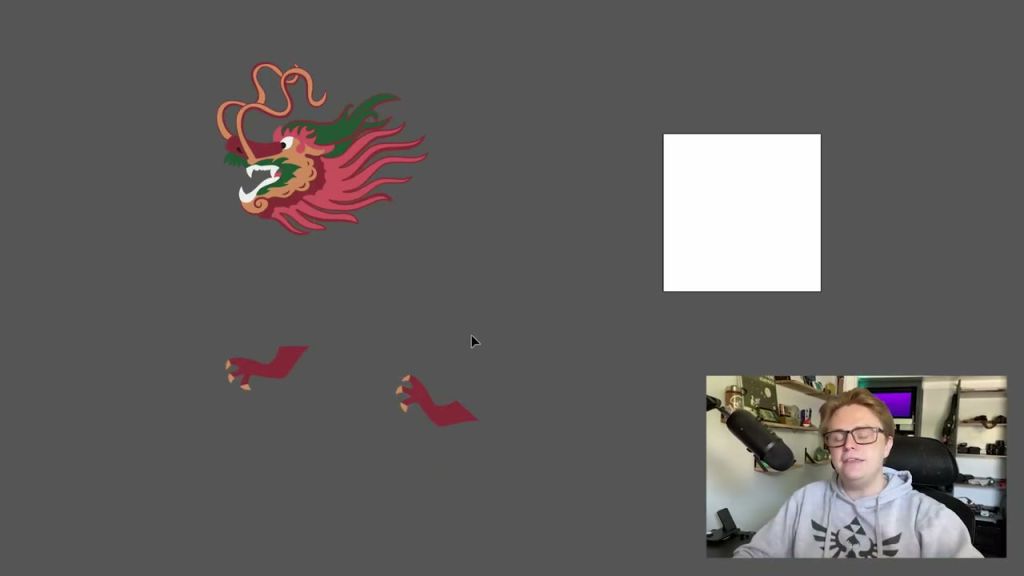
A custom pattern brush starts as normal Illustrator artwork. In the video, the repeat is built from a dragon body segment, but the same idea works for borders, chains, stitches, decorative frames, lettering flourishes, and motion graphics assets.
The important thing is to think of the artwork as a tile. It needs to connect cleanly from one repeat to the next, and its height usually controls how the brush will sit on the path. If the artwork feels awkward before it becomes a brush, the brush will only repeat that awkwardness faster.
2. Create the Pattern Brush from the Brushes panel
Once the repeat artwork is grouped, drag it into the Brushes panel and choose Pattern Brush. Illustrator will ask how the artwork should be used along a path, and this is where the brush becomes more than a stretched stroke.
Pattern brushes are useful because they let real vector artwork follow a line. You can draw a path with the Pen Tool, Pencil Tool, or a normal stroke, then apply the brush so the artwork wraps along the shape. That makes the path editable while the repeated art stays consistent.
3. Give the brush corners and end caps when it needs them
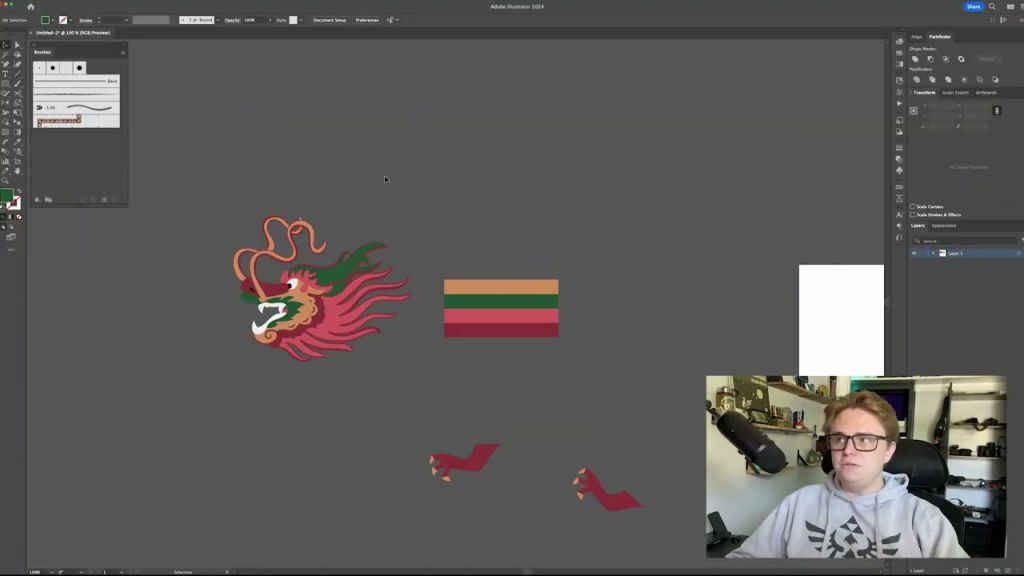
Illustrator can guess some corners automatically, but it does not always choose the cleanest option. For artwork that needs a head, tail, start cap, end cap, or special corner, build those pieces deliberately and assign them inside the Pattern Brush options.
This matters for character-like brushes, decorative borders, and anything with a clear direction. A brush that repeats well in the middle can still look unfinished if the beginning, end, or corners are empty.

4. Test the brush on paths before committing
After the brush is created, test it on a few simple paths: a straight line, a curved arc, and a path with rounded corners. This reveals spacing issues, corner problems, and scale problems much faster than dropping it straight into finished artwork.
If something feels off, edit the brush rather than fighting every path individually. Pattern brushes are strongest when the reusable system is clean, because every future path benefits from that one improvement.

When to Use Pattern Brushes
Pattern brushes are best when you need repeated vector artwork to follow a path while staying editable. They are not only for decorative borders; they can speed up illustrated characters, organic details, themed lettering, interface ornaments, and stylized motion assets.
The tradeoff is setup time. If you only need one quick mark, a brush may be more structure than you need. If you know the artwork will repeat, curve, or appear in multiple places, the setup pays for itself quickly.
Here’s the numbers
Illustrator pattern brush settings to keep nearby
Pattern brushes are easiest to troubleshoot when you know which part of the brush controls each behavior. These are the practical settings and setup details from the dragon brush workflow.
Pattern Brush, not Art Brush or Scatter Brush.Auto Centered can be cleaner when Auto Between creates visible seams.Option or Alt while dragging artwork onto a brush tile slot to replace that tile instead of creating a new brush.Common pattern brush problems
If the brush looks stretched, check the hidden bounding shapes and tile heights. If the head or tail sits too close to the body, rebuild the end tile with more breathing room inside its invisible boundary. If corners create seams, test a different corner tile option before redrawing the artwork.
For decorative brushes, it is also worth deciding which details should be automatic and which should stay manual. In the dragon example, legs can be placed inside a repeating tile, but that also means they repeat every time the tile repeats. For character or story artwork, manually placing those special details may look better than forcing the brush to do everything.
Illustrator Pattern Brush Questions
01What is a pattern brush in Illustrator?
A pattern brush is a brush made from vector artwork that repeats along a path. It can include side tiles, corner tiles, and end caps.
02Can a pattern brush follow a curved path?
Yes. That is one of the main reasons to use one. Draw or edit the path first, then apply the brush so the artwork follows the curve.
03Why do Illustrator pattern brush corners look wrong?
Corners often need a custom tile or a better auto-corner setting. Test the brush on simple paths and adjust the brush options before using it in final artwork.