
Quick overview
How to animate water in Procreate
- Draw a simple motion path before animating the liquid.
- Block the timing with dots so the speed is easy to revise.
- Turn those dots into stretched and compressed liquid shapes.
- Add droplets, breaks, and bursts only after the base motion works.
- Use Alpha Lock, onion skins, shadows, and highlights for polish.
1. Plan the path before drawing finished water
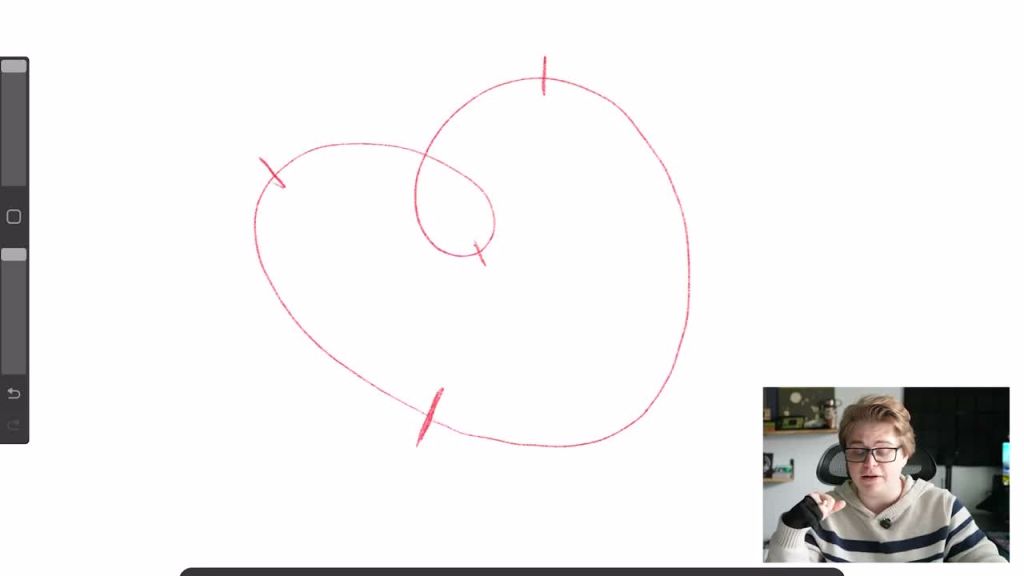
Liquid animation gets much easier when you separate the motion problem from the drawing problem. Start with a simple path that shows where the water is going to travel. It can be a rough line, a curve, or a few guide marks. The important thing is that it gives you a clear route before you start drawing finished water shapes.
On that path, mark the spots where the liquid should slow down, speed up, or change direction. Those marks become timing decisions. A curve may need the water to whip around quickly, while a landing point might need the liquid to gather, pause, or compress before moving again.
In Procreate, you can keep this guide as a foreground layer so it stays visible while you draw frames. Once the timing is working, turn the guide off and focus on the actual water.
2. Use dots to test speed and spacing
In frame-by-frame animation, timing is spacing. Dots are a fast way to test that timing without committing to finished drawings. Put one dot on each frame along the motion path, then play the animation back. If the dots are far apart, the water moves faster. If the dots are close together, it slows down.
This rough pass is where the animation becomes readable. You can add more frames near slow points, pull frames farther apart around a fast turn, or delete a frame that causes the motion to stick. It is much faster to adjust dots than to redraw detailed liquid.
Do this before drawing splash details. If the timing feels wrong, no amount of highlights or droplets will make it feel natural.

3. Turn the timing pass into liquid shapes
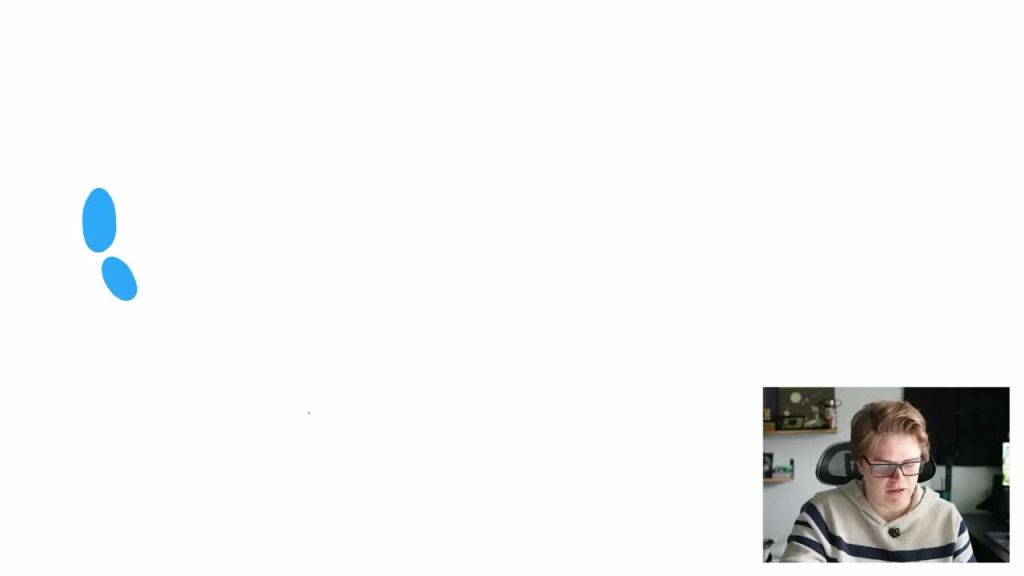
Once the timing dots feel right, use them as the center of each water drawing. Fast water should stretch in the direction of travel. Slower water should compress, thicken, or gather back into itself. This is the squash-and-stretch part of the animation.
Try to keep the amount of water believable from frame to frame. When the shape stretches, it should usually get thinner. When it compresses, it should feel thicker. You do not need mathematical accuracy, but the mass should not randomly appear and disappear unless the animation is intentionally breaking into droplets.
Direction matters too. Around corners, let the water curve, drag, and trail behind. A tail that lags slightly can make the liquid feel like it has weight instead of behaving like a flat sticker moving along a path.
4. Add droplets where the motion earns them
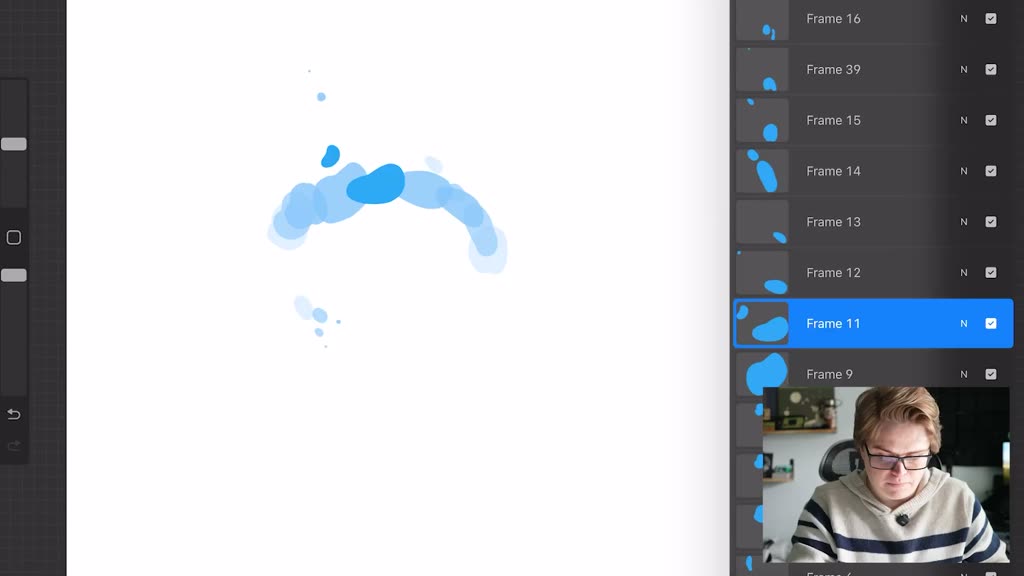
Droplets look best when they are motivated by the motion. Corners, sudden direction changes, impacts, and bursts are natural places for small pieces to break away from the main shape. If droplets appear everywhere, the animation can start to feel noisy instead of fluid.
When a droplet breaks away, it should usually keep some of the original speed. If the main water shape is moving quickly but the droplet drifts slowly, the motion can feel disconnected. In the video, a droplet frame gets adjusted because it was moving too slowly compared with the main blob.
Let small droplets shrink or vanish over a few frames. They do not need a full detailed animation. A quick break, drift, and fade can be enough to suggest splashing without overcomplicating the timeline.
5. Polish with Alpha Lock, onion skins, shadows, and highlights
After the motion works, polish the water. Alpha Lock is useful because it lets you shade each water frame without painting outside the shape. Two-finger swipe right on each water layer to lock the transparent pixels, then brush in shadows and highlights.
Lowering onion skin frames and opacity can make this stage less distracting. In the video, onion skins are reduced to about 2 frames with lower opacity so the previous and next drawings help without covering the frame being painted.
Keep the light source consistent. If the highlight sits on the upper right of the water in one frame, it should generally stay on that side as the shape stretches and compresses. The animation will feel more designed when the timing, shape, color, and lighting all support the same movement.

Common water animation mistakes
- Starting with detail too early: polish cannot fix unclear timing.
- Even spacing everywhere: water feels mechanical when every frame is the same distance apart.
- Keeping the same shape every frame: liquid should stretch, squash, and gather as it moves.
- Adding droplets randomly: splashes should happen where the motion changes direction or breaks apart.
- Leaving onion skins too strong: heavy onion skins can make polishing harder to see.
Procreate Water Animation Questions
01Can you animate water in regular Procreate?
Yes. This workflow uses Procreate frame-by-frame animation tools and does not require Procreate Dreams.
02How do you make water feel faster?
Increase the spacing between drawings and stretch the liquid shape in the direction of travel. Wider spacing reads as faster movement.
03When should you add droplets and highlights?
Add droplets after the main motion works, then add highlights and shadows after the shapes feel right. Details should support the animation, not hide a timing problem.
04How many onion skin frames should I use?
Use enough to see the motion, but not so many that the frame becomes cluttered. Around two to four frames is a good practical range while polishing.