
Quick overview
The 5 Illustrator tips
1. Scale anchor points instead of redrawing shapes
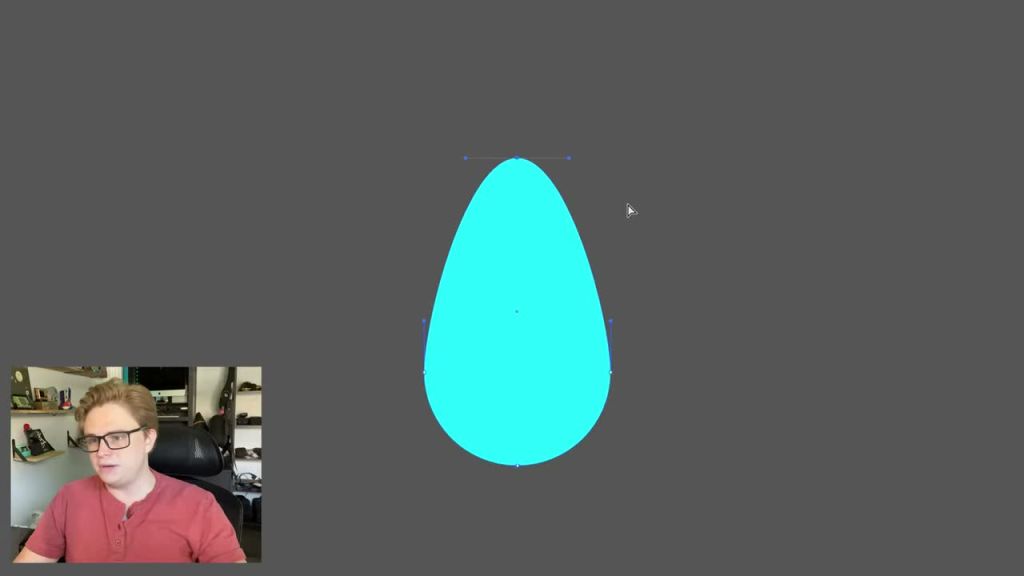
The Scale Tool becomes much more useful when paired with the Direct Selection Tool because you are no longer limited to resizing an entire object. You can select a few anchor points, press S for Scale, and adjust only the part of the drawing that needs to change.
That matters in real vector work because many shape problems are local. Maybe one side of a leaf needs to feel wider, a character detail needs more weight, or an icon curve needs a slightly different proportion. Scaling the selected points keeps the rest of the artwork stable while you solve that one shape issue.
The important habit is to select intentionally before using the tool. If you grab the whole object, Scale behaves like a normal resize. If you grab only the paths or points that need attention, it becomes a fast shape-editing tool that can save you from deleting and redrawing clean vector work.
2. Get to the Smooth Tool faster
The Smooth Tool is one of the quickest ways to clean up a rough vector path without manually adjusting every anchor point. It is especially useful for hand-drawn marks, uneven curves, lettering roughs, and artwork that needs to become cleaner without losing its original shape.
The trick is to treat the Smooth Tool like a temporary cleanup mode. Instead of digging through the toolbar every time, learn where it lives under the Shaper or Pencil tool group and move in and out of it quickly. A few passes over a problem area can reduce extra points and soften awkward bends faster than editing handles one by one.
Use it carefully, though. Too much smoothing can make a drawing feel generic or remove intentional personality from a line. The goal is not to erase the hand-made quality; it is to remove the distracting bumps that make the artwork harder to read or harder to use in production.

3. Reflect shapes instead of rebuilding them
Reflect is one of those Illustrator tools that feels simple until you start using it as part of your everyday workflow. When a shape needs a mirrored version, reflecting it gives you a clean copy that keeps the same proportions, curves, and anchor structure as the original.
This is helpful for icons, badges, character details, symmetrical lettering pieces, product shapes, and any artwork where visual consistency matters. Rebuilding the opposite side by eye usually introduces small differences that can make the piece feel less polished, even if the viewer cannot immediately name the problem.
Reflect is also useful when you are exploring. You can build one good half, mirror it, then decide whether the design should stay perfectly symmetrical or get small asymmetrical adjustments afterward. That is usually faster than trying to draw both sides cleanly from the beginning.
4. Repeat transforms instead of measuring every copy
Transform Again repeats the last move, rotate, scale, or copy action. If you duplicate an object and move it a specific distance, Command or Control + D repeats that exact transformation, which makes repeated spacing much easier to build consistently.
This is especially useful for pattern-like work, repeated decorative elements, evenly spaced marks, radial experiments, stepped motion graphics assets, and any layout where you would otherwise keep nudging copies by hand. Instead of measuring each copy from scratch, you set up the first move correctly and let Illustrator repeat it.
The command is also a good way to keep a design process moving. You can test repeated spacing quickly, see whether the rhythm works, then undo or adjust without committing to a complicated setup. For many small vector tasks, that is faster than building a formal pattern or blend before you know whether the idea is working.

5. Lock artwork while you work around it
Locking artwork is less flashy than a drawing tool, but it solves one of the most common Illustrator frustrations: accidentally selecting the wrong thing. Use Command or Control + 2 to lock selected artwork, then Option or Alt + Command or Control + 2 to unlock everything when you are ready.
This is useful any time you have reference images, background shapes, finished artwork, texture layers, or dense overlapping paths near the thing you are actually editing. Locking those elements lets you keep them visible without constantly fighting the selection tool.
It also helps with focus. When the finished pieces are locked, Illustrator becomes less noisy. You can work on the active shape, path, or detail without worrying that a nearby object will move by mistake. In complicated files, that small habit can prevent a surprising amount of cleanup later.
When These Illustrator Tips Matter Most
These are workflow improvements for the moments where Illustrator starts to feel slow: selecting too much, rebuilding shapes by hand, nudging repeated objects, cleaning up curves, or accidentally grabbing the wrong layer. They are not meant to replace deeper Illustrator fundamentals; they are small habits that make the fundamentals easier to use in real files.
The video shows the tools in motion; this page keeps the use cases and reasoning somewhere easy to reference.
Illustrator Workflow Questions
01What is the fastest way to smooth a path in Illustrator?
The Smooth Tool is usually the fastest option for softening a rough path without manually editing every anchor point. Use it in small passes so the artwork keeps its original character.
02What does Command or Control + D do in Illustrator?
It repeats the last transform, including moves, copies, rotations, and scaling changes. It is useful for repeated spacing, quick pattern tests, and production workflows where consistency matters.
03Why lock objects in Illustrator?
Locking prevents accidental selections and makes it easier to edit detailed vector artwork around reference images, background elements, finished shapes, or dense overlapping paths.