Quick overview
The simple 2D smoke recipe
1. Build the smoke from overlapping shapes
The simplest way to make 2D smoke in After Effects is to start with basic shape layers. Circles and stretched ovals can overlap into a soft smoke cluster before any effects are added. That may sound too simple, but smoke reads through movement, softness, and changing edges more than through complicated drawing.
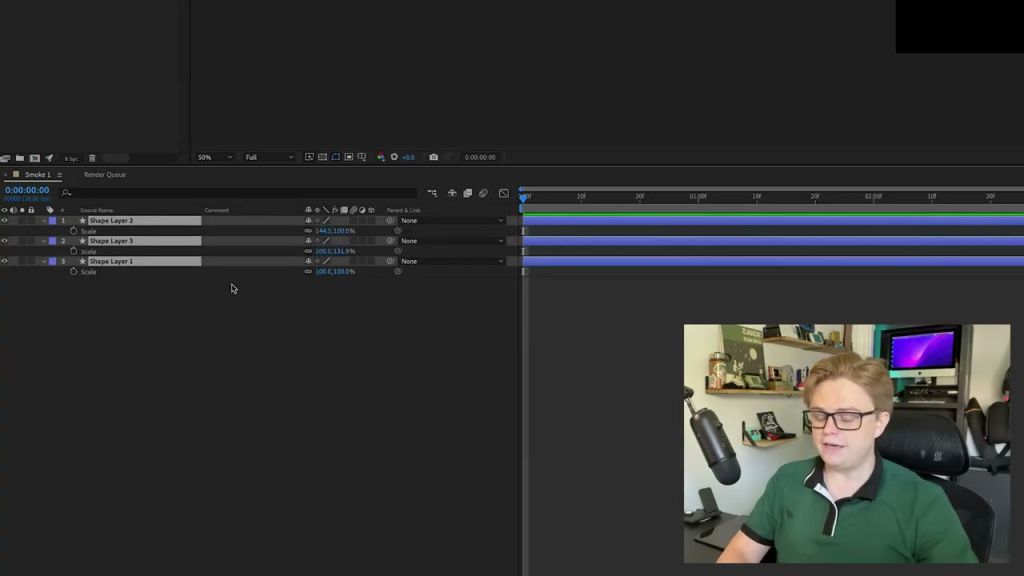
Keep the anchor points centered and align the shapes before animating. This makes scale changes easier to control and keeps each puff from drifting strangely around an off-center pivot. Once the base shapes are aligned, duplicate them and vary their proportions so the smoke does not look like one repeated circle.
This shape-layer method is especially useful for stylized motion graphics, car exhaust, campfire puffs, UI animation, magical dust, or any place where you want smoke that stays clean and editable.
2. Animate position and scale together
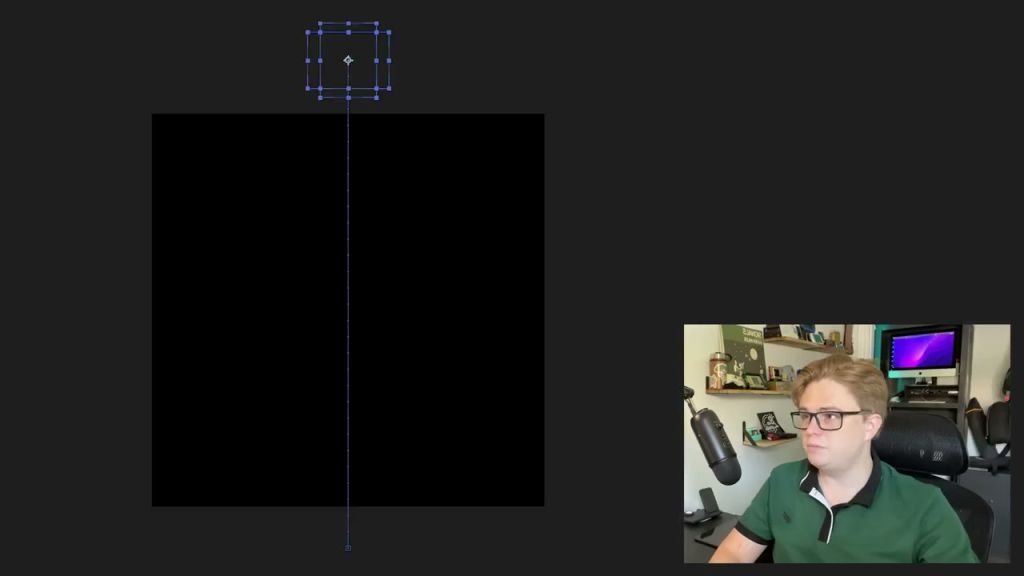
Position gives the smoke its rising motion, while scale makes it feel like it is expanding as it disperses. In the video, the shapes start at 0 scale, grow as they rise, and then shrink or drift off near the end. That basic scale change is what keeps the puff from feeling like a solid object sliding up the screen.
Use the Pen Tool on the position path to add a little curve. You do not need a huge S-curve or a pile of keyframes. A slight bend makes the motion feel more natural while keeping the animation easy to revise.
After the first few puffs work, duplicate them, offset the timing by a few frames, and alter the path direction. Smoke looks better when several similar shapes overlap at different speeds rather than when every puff moves in perfect sync.
3. Blend the shape puffs with blur and Matte Choker
Once the overlapping puff animation is working, precompose it and blend the shapes. Gaussian Blur softens the hard vector edges so the circles begin to merge. Matte Choker then pulls the blurred shape back into a cleaner silhouette.
In the video, the blur is raised to around 45, which is enough for the individual shapes to start blending. The exact value depends on comp size and shape scale, but the idea is consistent: blur first to merge, choke after to regain a usable edge.
This is a classic motion graphics trick because it turns several simple shapes into one organic mass while keeping the original animation editable inside the precomp.
4. Use Wave Warp for an effect-driven smoke column
The second method in the video uses a tall shape layer and effects instead of many animated puffs. Start with a rectangle, convert the rectangle path to a Bezier path, then pull the corners inward so the smoke has a tapered base and wider top.
Wave Warp provides the motion. Set the direction so the waves move upward, then adjust wave height, width, and speed until the column drifts instead of wiggles. Duplicating Wave Warp with different settings helps the waves fight each other slightly, which breaks the overly perfect pattern.
Grow Bounds can help if the effect clips at the edges, and Bezier Warp can squash the bottom so the smoke starts tighter and grows as it rises.

5. Precompose smoke so it becomes reusable
Once a smoke puff works, precompose it. That turns the animation into a reusable asset that can be duplicated, rotated, offset, recolored, time-stretched, or placed into a larger scene.
For looping smoke, split the comp where the smoke begins to leave the frame, enable time remapping, and use a loopOut() expression on the useful section. If the smoke is moving too fast, time stretch the precomp rather than retiming every individual puff layer.
This keeps the smoke system flexible. You can build one clean animation, then reuse it for several effects without rebuilding the whole structure each time.

Here’s the numbers
After Effects smoke settings to keep nearby
These are the practical values and effect choices from the video. Treat them as starting points, not locked rules.
Position upward and Scale from 0 to full size, then shrink or drift off at the end.Keyframe Assistant > Easy Ease so the smoke does not move mechanically.45 blurriness before Matte Choker to blend overlapping puffs.0, Wave Height around 20, Wave Width around 120, Speed around 1.4.180, slower speed, and a slightly different direction.loopOut() on the reusable precomp section.200% to 250% if the smoke rises too quickly after precomposing.A good smoke animation is mostly timing
The effects help, but the smoke sells itself through timing. Shapes should appear, rise, expand, soften, and disappear in a rhythm that feels natural for the scene.
Start simple, make the motion readable, then add texture. That order keeps the animation easier to control and easier to reuse.
After Effects Smoke Questions
01Can you make smoke in After Effects without plugins?
Yes. Shape layers, position and scale animation, Gaussian Blur, Matte Choker, Wave Warp, Grow Bounds, and precomps are enough for simple 2D smoke.
02Why use shape layers for smoke?
Shape layers stay editable, are easy to duplicate, and work well for stylized 2D motion graphics smoke.
03What makes 2D smoke feel natural?
The key is varied timing: smoke should rise, expand, drift, soften, and fade instead of moving as one rigid shape.
04Should I use the shape method or the Wave Warp method?
Use the shape method when you want puffy, characterful smoke. Use the Wave Warp method when you want a simple continuous column that can be adjusted mostly through effects.